
in the days around Silvester i learned how to fold a 3 dimensional paper-star 🙂
and now i just share / document how it is done – also as reminder for myself 😉
i have created a git repository with this instruction.
there are also some analyzes and experiments to understand what part of the sheet are ending on what part of the star tips.
that is the base for ideas how to map images to the tip-sides…
but for now i leave this as is…
i think it is easily possible to complete this in about 2h.
fold base part
we need this part 30x
the paper has to be square – i used 140mm length on each side –
this way you can cut two peaces out of a DIN-A4 sheet.

Step 1
lay the sheet in front of you
Step 2
fold in half
Step 3
unfold and rotate so that the fold is vertical
Step 4
fold the right down corner in up to the center of the sheet
Step 5
repeat with top left corner
Step 6
turn paper upside-down.
rotate so that the first fold-line goes from top left to bottom right.
Step 7
fold top-right (the edge that already has a fold) to meet with the center line (similar to paper-planes..)
Step 8
repeat with bottom side symmetrically
Step 9
turn paper upside-down
Step 10
top: long edge meets top edge
bottom: short edge meets bottom edge
these two = folding line –
fold from bottom-right inwards.
Step 11
repeat the same symmetrically..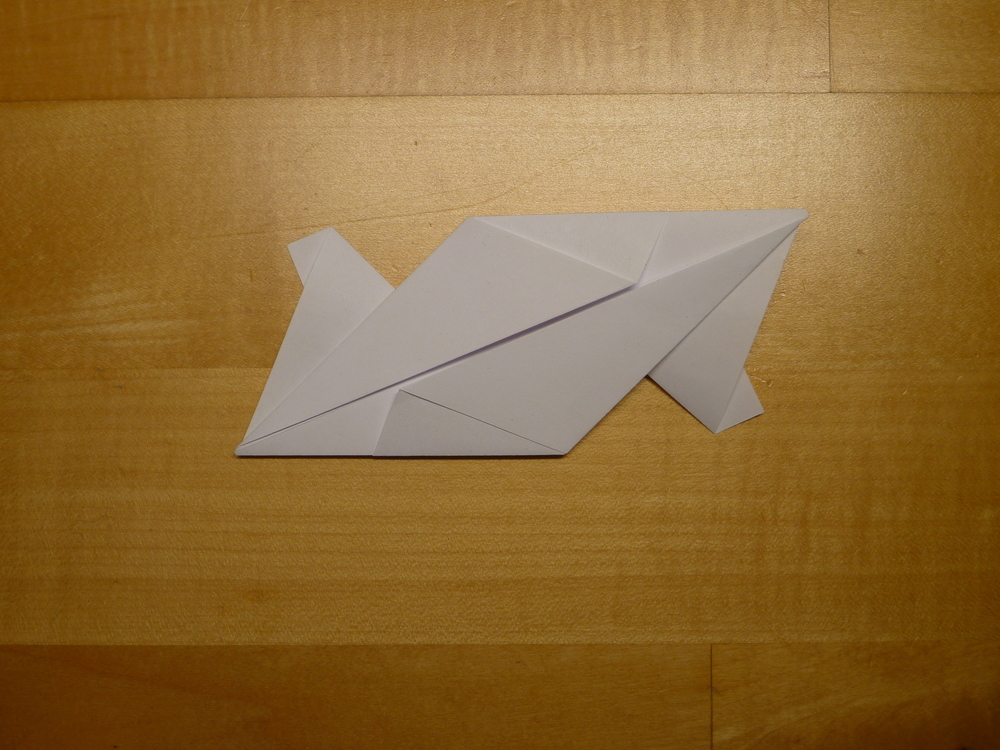
Step 12
turn paper upside-down
Step 13
there is a short paper thing sticking out under the main parallelogram.
fold this inwards.
Step 14
repeat symmetrically
Step 15
now fold the parallelogram into half – this results in a triangle.
Step 16
it will open up a little bit – that is fine – this is the in-between space for two star-tips..
assembly one tip
now use three of the base parts to create a tip.
only after you have interweaved all three the structure is stable.
before this they easily come apart again..
in the same way you can now prepare in total 4 tips.


assembly ring with five tips
now with two tips and * base parts you can form a ring of five tips
we need a total of two rings (one for bottom and one for top)

we need two tips and four base parts 


the tricky last closing.. 
done 🙂
final assembly
now we can prepare for the final assembly.
for this use the 10 base parts left.
and combine pairs of them.
now we can do the final assembly.

two rings 
five pairs.. 
and the fun begins 🙂 


and finally done 🙂
